Showing posts with label medallion quilts. Show all posts

Friday, November 19, 2021

Sometimes It All Comes Together at Once

 Life continues apace, each day bringing a fresh start, which I try to hold onto even as my emotions continue in flux.  The challenge to keep an even keel for an entire day is very real right now!

That said, on the Very Best Days, Things Get Done!  Even better, sometimes I accomplish more than I expected because...well...sometimes it all comes together at once.

Last week I drove into Red Deer to Curiosity Art & Framing, to pick up invitations for the Christmas Reception that's happening there December 3.  I won't be the Featured Artist by then (that's coming to an end as I type, because another artist -- a painter -- will be featured) but my work is staying there for the time being, and will continue to be shown.  And I'll be at the reception from 3-5 p.m. that afternoon.  The Featured Artist will be there in the evening.

While I was talking with owner/manager Andrea, she asked if I could bring in some small pieces -- 5" x 7" -- in case someone in attendance would like to purchase something with only a little financial lay-out.  I confess, that cheered me up and lit a fire under me.  With only a couple of weeks to the event, I needed to act pronto so I could take them back to Andrea for framing.

Ol' Man Winter, it turns out, was on my side too.  We had wild wind and blowing snow here on Monday and Tuesday -- so I stayed inside and went to work.

In the summer, I'd dabbled with some fabric painting, mainly on some semi-sheer synthetic stuff -- just for fun, when I was taking the "Cloth to Codex" workshop (online) with Susan Purney Mark -- and I'd written about it HERE.  I decided to dig out the fabric and see what I could come up with.

Well...this


became this...

On the Dunes - (c) 20215" x 7" 


and this...


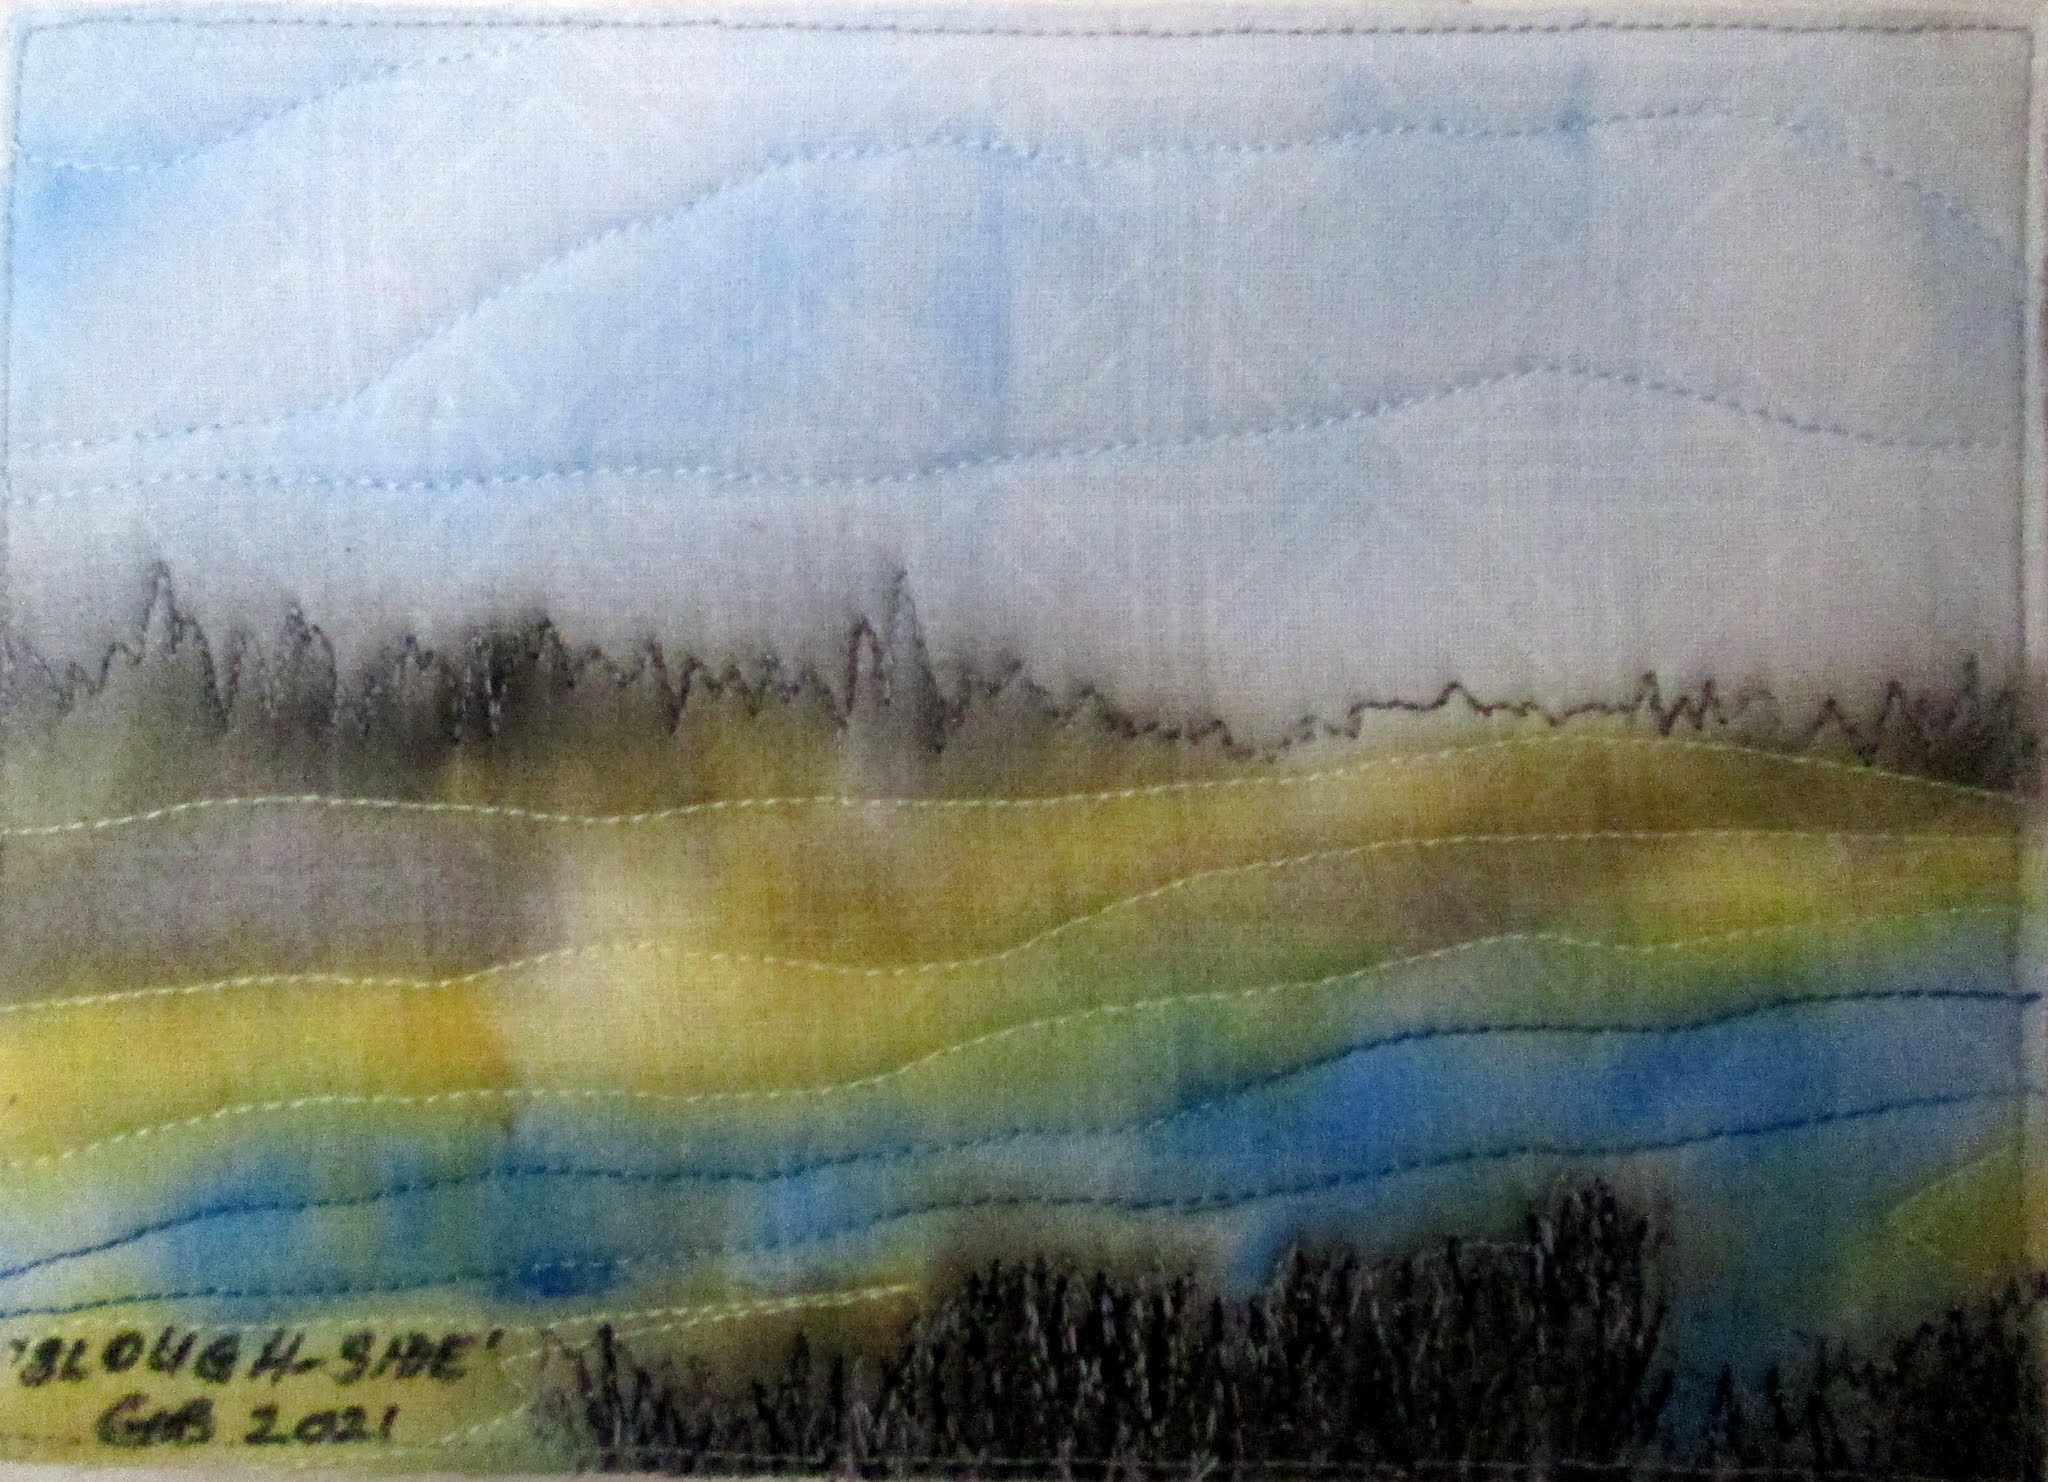
Slough-side - (c) 2021 - 5" x 7"


This...


became this...

A Dream of Spring (c) 2021
8" x 10" mounted on 12" x 12" 
painted stretched canvas


And another piece --  fabric print that I altered with mono-printing and paint sometime last year -- became this:

Winter Grasses - (c) 2021 - 5" x 7"


I was on a roll so, having decided to paint the canvas for A Dream of Spring, I also got busy and painted the one I needed for Forgiveness.  (Alas, I lack great spaces for phography in my house, so this was taken at an odd angle and looks wonky; it's not!)


All of these are at Andrea's now for framing -- in my usual black 'floater' frames -- but the invitees at the December 3 reception will see the finished products.  I, for one, can't wait!


In the Xmas Gift Department...

I used left-overs from at least two other, larger projects -- maybe three -- to make this comfort throw for a friend who shall remain nameless for the moment (Christmas gift, remember?)

What's Left in the Box of Chocolates? (c) 2021


It's really simply a batch of 2 1/2" squares sewn into 9-patches and then all joined together, surrounded by narrow "zingers", wider pieced borders and even wider solid-colour borders -- with outer corner-stones made from HSTs (half-square triangles) left over from yet another larger project.  No pattern; I just made it up.

Technically,  it's a medallion quilt because it features "something in the middle, and something around it" -- to quote Joe (The Quilter) Cunningham.  Further, per his friend and mentor, the late Mary Schafer, it's a "country medallion"  -- not a "fancy" or "more sophisticated" one, because the 'something in the middle' is pieced, rather than featuring a central motif that's appliqued.  And my borders include piecing, not applique. 

I learned all this on Saturday, when I was working on the borders of this piece and attending Joe's latest Quilt Freedom Workshop.  Yep; it was all about medallion quilts -- antique and vintage inspirations -- with his guests (and friends) collector and quilt historian, Julie Silber, and Carolyn Ducey, Curator of Collections at the International Quilt Museum in Lincoln, Nebraska.  

I confess I pay to take these classes ($50 CAD a pop) not only to see if I can play with fabric in a new way, but also because I think Joe's one of the best quilt artists out there; he makes me think; he stretches my mind and my perceptions, and he introduces me to quilt history in the most interesting way!  Not all the topics he covers interest me, so I've yet to spring for a monthly Patreon membership (about $50 CAD per month, which is expensive for me these days); I prefer to pick and choose.  So far, I've attended most months -- but not all of them.  Sometimes I make a project; sometimes I don't.  This month, my medallion piece was on theme but not even close to Joe's style.  Still, I could imagine, decades from now, someone coming across this little throw in a thrift shop or antique market, and wondering at the provenance, at the colours chosen, the design, even the size.  That's what makes quilt history come alive for me -- and Joe and his friends and colleagues have given me that appreciation. 

In that vein, I've just purchased a soon-to-be-released book -- Alberta Quiltmakers and Their Quilts -- authored by Lucie Heins, Assistant Curator for the Daily Life and Leisure Program at the Royal Alberta Museum (RAM) in Edmonton.  

I met Lucie years ago when she and Patti Morris, former SAQA Western Canada Rep for Alberta, joined forces, with two other quilting organizations, and created an exhibit at the RAM.  SAQA's contribution was "Meet the Best of the West", which had toured around Canada, and finished its tour there (late summer 2014).  Here I am -- much younger -- with my piece, "Mutt and Jeff" (upper left corner) and others, at the reception for the participating artists, as many as could get there:


But I digress...there's Xmas knitting too!

And it's all done but for one piece, for a friend who lives a few blocks away.  That will be done when the time comes...

For now, I am ready to meet my daughter on Sunday to pass on gifts to her for herself, for her friend (the commission) and for my son, his partner and her son.  All are finished, washed and ready to wrap!

The commissioned socks were an adventure because of the size required, which was larger around than the lace pattern could accommodate.  I'll spare you the details -- especially those of you who don't knit or understand the language (!).  Interested parties can read my notes on this adventure on my project page on Ravelry.  Here they are, just before I grafted the toe of the second sock:

Pattern: Hummingbird 
Designer: Sandi Rosner
Publication: The Knitter's Book of Socks
by Clara Parkes
Yarn: Gathering Yarn - The Basics Sock

These are long socks -- 11" from cuff to bottom of heel; 10" from heel to toe -- but I still had some yarn left over from the skein!  And the hand-dyed yarn colour-way is spectacular!  I am more than pleased -- I only hope the recipient is too.

I've also finished the hats and mittens I planned for giving:

  • Not one but two hats for my son (the first shown a few posts ago, but here it is again):
Pattern: Ribbed Toque
Source:Knitting Stories - Sylvia Olsen
Yarn: Cascade Yarns "Anthem"


And here's the second:

Pattern: "Bankhead"
Designer: Susie Gourlay
Yarn: Baycrest Sayelle Knitting Worsted (d/c)

  • And a hat and fingerless mittens set for his partner:
Hat: Violet Waffles - Designed by Halldora J
Mittens: Simple Fingerless Mitts
Yarn: Schoeller + Stahl Limbo Mexiko Color
in "Fjord" 

Here's one of the mittens on my hand.  
I added an inch to the body after the cuff,
in case she wants them long enough to go inside her coat.

I finished my daughter's Christmas Socks a few months back; lest you missed that, here they are:

Pattern: Thermal Weasleys
Designer: Desiree Bowman
Yarn: Gathering Yarn Merino Sock Italian

And yes, the "Weasleys" reference is from Harry Potter... 😉

The other gifts I'm giving aren't made by me...but are ready to pack for delivery on Sunday afternoon or to put in the post later this month.

One of the latter is a selection of two designs for a 2022 calendar, created by my daughter, who is a talented photographer (as I've mentioned before, as followers of this blog will know).  This year she assembled "This Chickadee Life" and "Chubby Cheeks" (featuring squirrels and chipmunks).  You can see these on her Facebook page -- or if you are in Edmonton, Alberta, at Mandolin Books and Coffee or Apache Seeds -- available now for purchase.  I've chosen one for my cousin James in Scotland, and another for my next-door neighbours here in town.  Perfect!  

At this point, anything else I divulge would spoil surprises for Certain Gentle Readers...so that's it for now!

Aside from that one knitted gift for a local friend, I'm ready for new knits -- and for me, that means returning to two pullovers that were just started before the Xmas Knits took over.  More about them in a future post...and more about quilty things too.  Bonnie Hunter's 2021 Mystery starts in earnest a week from tomorrow (right after American Thanksgiving) -- and I'm hoping it will be another fun challenge for this year.  

I'm also closing in on the 98 string blocks (5 1/2" square, unfinished) that I need for Bonnie's free "Basket-weave Strings" pattern; this top will be reserved for when needed for charity.  I've been using a pile of collected strings, and have 84 blocks done...but the pile doesn't seem to be getting any smaller...Sigh.

Upcoming: 

The 3rd Annual (second In Person) Lacombe Encore! Under $100 Art Market at the Memorial Centre, Lacombe, Alberta -- Thursday, November 25 from 4-9 p.m., Friday, November 26 from 10 a.m. - 6 p.m. and Saturday, November 27 from 10:00 a.m. - 4:00 p.m. (COVID protocols in place.)

I have four 5" x 7" pieces in the sale (NOT the ones shown above!) and my daughter Gina will have some of her photography there too.  I'll be on cash on Thursday from 4:00 - 6:30 p.m., so if you're a local reader, do come by, see the lovely work, and find something that's just right for you to give at the holiday season.

And of course, as mentioned above, Curiosity Art & Framing has a Christmas Reeption the following week (Dec. 3); I'll be there from 3-5 p.m.

After all this, I'll be glad to be home knitting and string-piecing quietly in the lead-up to Christmas.  Our parish church, where I'm now the lone musician music "team", is still discussing the timing of a Christmas Eve Service, and I've no idea what our family is able or willing to do this year re: getting together...so whatever happens, happens.

This coming week, American family and friends will be celebrating Thanksgiving.  I send good wishes to all who are doing so, and hopes that you will stay safe and have a loving, happy time together.  

I'm linking this up to Nina-Marie's Off the Wall Friday, where she's busy bringing a new creative idea to life.  She's facing a deadline -- so I hope that for her, too, it will all come together at once!

And for you, Gentle Readers, Happy Thanksgiving to the Americans for November 25 -- and may all of us have a safe, healthy, creative week ahead!


Monday, September 21, 2015

Edging into Autumn

September is slipping through my fingers.  It's almost Autumn...which this year officially begins on Wednesday.

Autumn...one of my favourite times of year despite the shortening days.  The air is crisp and fresh and some of the best trail runs take place because of the cooler weather.

My tomatoes are all in -- green ones in a newsprint-lined container for ripening.  My roses continue to astound me, as do the cosmos, so I'm leaving them alone for the time being.  And I still have to mow the grass at least one more time.  On the shopping list: spring bulbs, which I'll plant now with high hopes they will grace my south flower bed eight months (or so) from now.

It's a bit too cool to sit outside stitching so I'm back in the sewdio, working first on my "Lost Edges" piece.  I blocked it out on Friday using my usual technique of a foundation fabric (unbleached muslin) and lots of pins!  I wasn't about to risk fusing anything in place till I heard from EB!

While I like the piece, I was concerned it lacked a certain "spark"...

Materials: sky - indigo-dyed silk;
hills/"shrubs": assorted synthetic sheers;
background grass: "Fossil Fern", a classic
commercial cotton; foreground
grass: acid-dyed silk;
tree trunks: eco-printed fabric by arlee barr.

Detail 1

Detail 2

And here was EB's response:

I think you've done a very good job of contrasting the edges...and great fabric choices...I don't think you lack very much actually.  Perhaps some debris around the base of the trunks to "tie" them to the ground so they don't look as if they're superimposed...go back out to the area ...or ck your photo to see how the bases of trees  dovetail beautifully into the ground.  You want it to look as if these trees are just growing right up.  You might want to move the LH hand group a little to the left...allowing a view point through the gap...

I think the piece has plenty of pizzaz with that perfect mould (or whatever it was!) dyed fabric... and I love the way you have it going soft and softer...as it goes back.
don't think you need leaves...but maybe a couple of branches to tie the sides of the image to the frame....looks like a great place to go for a walk!
I grinned when I read "Perhaps some debris around the base of the trunks", because of course that will come with the stitching.  And arlee's fabric is printed with leaves...not mould! (grin) but yes, she still makes the best tree trunk fabric I've found!

So this morning I sandwiched the background, as I need to quilt it down (especially the sky) before I apply those trees...It will likely finish around 18" W by 14" L.


And what of the wrapped trees?  Just over two months in, this is how they looked on September 13:

Tree 1 - stains beginning

Tree 2 - staining too

Tree 3 - I'm wondering if'
these stains will last.

Tree 4 - least stained of all,
and I thought it was muslin!

The Christmas knitting is about to begin...as is the production of new minis for two shops, and one for a Christmas commission.

Speaking of commissions...My DD reported that her friends like the Maritime Memories pair...and this morning I picked up the medallion quilt from Sylvia Sawyer, long-arm quilter extraordinaire... Here's just a glimpse of some of the work she did...

Part of centre medallion, zinger, piano key border
Section of outer-most border (untrimmed backing on the right)
Part of inner border, zinger, piano key border

DD will select the binding fabric in a couple of weeks (Thanksgiving) and I'll bring it home to bind and wash before it goes back to her to wrap and give away.

I'm finding this balance of bed quilts and artwork healthy.  I find it satisfying to always have some of each on the go.  The bed quilt construction is rhythmic and methodical (for the most part); the artwork stretches my brain till it groans with that mix of pleasure and pain that is, I think, common to most artists.

This afternoon, I'm piecing the border for the Magic Tiles quilt I began a couple of weeks ago:

Pin carefully because this is sashed at an angle

You want the edges to be even in the end...

Linking this up belatedly to Nina Marie's Off the Wall Friday...hoping you have a creative week and a happy change of seasons.

Till next time...


Wednesday, February 11, 2015

Betwixt and Between

Wednesdays are in-between sorts of days.  They're between Tuesdays and Thursdays, when I work at The Shop, and the run-up to my long stretch of studio days (Fri/Sat/Mon and sometimes Sundays).  I find I look forward to Wednesdays and then, all too often, fritter them away at the computer.

Today, I've vowed, is not going to be a "Wasted Wednesday"!

I spent a good part of last weekend working on the commissioned medallion quilt so that I could turn the central square into a rectangle.  At the same time, I had to figure out how to tastefully convert the largest size in the pattern (queen-sized) to fit a king-sized bed.

It couldn't be done simply by adding deeper, solid-fabric borders.  B-O-R-I-N-G.  Plus, my client originally wanted a pieced border in there somewhere.  Trouble was, the pieced border in the pattern was illustrated only for the two smallest sizes (a twin size and one 70" square that's somewhere between a lap-size and a twin).  Thus it was rather narrow (3" finished) and had the pieces laid out horizontally, like rail cars.  The proportions would be all wrong for this very large project.

What to do?  Blessedly, on Sunday afternoon a long-time quilting friend -- one of the two gals who actually started me on this journey almost 20 years ago now -- called.  I ran my challenge by her and about 10 minutes into the conversation, I had it.  A piano-key border!  I have one of these on a quilt I made some years ago.  It was a class I took, and the pattern is Kathleen Bissett's "Garden Delight":


Okay; so I didn't turn the corner very prettily!  That was then (about 15 years ago); this is now -- and there will be a corner-stone or some such to perfect the border this time 'round! :-)

But you get my drift.

Then I had to figure out the math, answering the question, "how deep?"  I created an Excel (R) spreadsheet...All measurements are in inches, "finished":

Pattern as Written Proposed Adjustments
Queen Queen King King Fabric
Length Width Length Width Selected
Centre         60.00         60.00         60.00               60.00 Assorted
Inner border           2.00           3.00           2.00                  3.00 Background
          2.00           3.00           2.00                  3.00 Background
Rectangle conversion
               -             5.00                -                    6.00 Brown  
               -             5.00                -                    6.00 Brown 
Zinger (narrow border)           3.00           3.00           3.00                  3.00 Gold
          3.00           3.00           3.00                  3.00 Gold
Piano Key Border                -                  -             6.00                  6.00 Assorted
               -                  -             6.00                  6.00 Assorted
Wide Outer Border
        10.00         10.00           8.00               10.00 Brown 
        10.00         10.00           8.00               10.00 Brown 
Total:         90.00
102.00
        98.00             116.00

Note: The highlighted measurements show the deviation from the pattern.  

Once I received approval from my client for this type of pieced border, I went to work turning the square into a medallion.  Here's the top-in-progress on my kitchen floor, showing the finished rectangle conversion and the "zinger":


And here's the "keyboard" under construction:


All the while, EB's response to my blocked pieces is swirling in my head...So the plan for today is to do some more strip-piecing, and then...maybe a background or two for the EBMC...while I link up to WIP Wednesday on The Needle and Thread Network.  

Have a great rest of the week!

Tuesday, January 14, 2014

Designing Quilter

In my last post, I talked about a Japanese-themed project on which I'm working.  Today I sketched out an enlarged design and auditioned fabrics for a large (18" x 18" finished) central medallion:


The small diagram in the centre is actually a miniature diagram of the whole piece.  The pieced blocks will frame as-yet-unplanned blocks in the four corners.  There will be a large central applique block, flanked on each side by four other applique blocks.  At this point, the arms of the cross that come into this intersection aren't designed, but I'm getting a feel for how I want this to turn out.

I also cut fabric (all from stash!) for a sample of the central medallion block.  To create this I had to double the size of the design from Susan Briscoe's book.  I'm one of these people who can't really envision what it will look like till I make it, so I now have the background and two parts of the motif cut out and prepped for applique:


In the end there will be six "petals" around the circular the centre.  I think my applique skills are up to the task, so will work on this of an evening -- probably watching The Quilt Show or an episode of DesignMatters TV.  :-)

Coincidentally (serendipitously?) I've been aided in this more formal design process by a kit I won as a door prize at a Heritage Park Quilt Festival dinner a few years back.  It too involves a central medallion.  Though what I'm doing with the Japanese-themed quilt isn't strictly 'medallion-style', I thought I would take out this kit and assemble the top, just as a learning experience.  It has a real "country" feel to it, but is a bit on the dark side for my decor, so I expect it will end up being given away.  In the meanwhile, though, this 70" square (!) piece is teaching me method, design, colour theory (value and contrast) -- and will culminate in being something I will try to quilt myself using the "Medallion Quilt" section of my trusty class with Ann Petersen, "How to Quilt Large Quilts on a Small Machine".

Yesterday I washed all the fabrics except the background -- which is cream-coloured and will have to wait for a "white wash" day.  Today, I cut them out and organized them in a chart, per the instructions:


Doesn't this look tidy?

The blocks on the left are paired in combinations, in preparation for constructing a series of half-square triangles.  The pieces on the right have been "set aside for later".  :-)  The paper at the top is the chart I used to number each fabric - light/dark, light/dark, light/dark...

My online class with Pamela Allen, "About Contrast", begins tomorrow.  Who knows how useful this piece will become?  That, and the fact that the next 15 x 15 theme is "Contrast", and I'm all set!

Linking up to WIP Wednesday over at The Needle and Thread Network...why don't you join me and see what other Canadian quilters are up to?