Gentle Readers, I expect you're beginning to wonder what's up with me -- writing a blog post three weeks in a row! 😆 Yes, I'm still stitching and knitting for Xmas gifts (more about that later) but earlier this week I had an urge to get back to the Art in the Park commission, so I did just that.
You may recall that in October, I was making samples to create a 3-D piece reflecting the "False Hellebore" plant that had fascinated me while I was hiking out in B.C. as part of the Art in the Park residency. I was in particular awe of the leaves.
Here's what that plant looks like:

And here's a close-up of the leaves...

You'll probably also recall from that post that none of those samples worked (what else is new?!) and that after some research, I found a product called "Inn-spire Plus Heat-set Moldable Fusible Non-woven" stabilizer -- at a shop in Winnipeg! I bought two packs of the 9" x 12" size, not wanting to go overboard with the 20" x 36" size in case what I wanted to do wouldn't work.
This week, I finally played with it -- and was delighted with success from the get-go!
But let's back up a minute. The sample leaf worked, but I knew I had to make at least 3 of them, and I needed a background on which to mount them. I wanted the background to look like a mass of green, giving the impression of a crowd of hellebore, as I'd seen them in real life. And I wanted to recreate a stalk on which to place the leaves.
Cord. I needed cord -- and fairly substantial cord at that. I dug out a roll of clothes line cord that I'd bought and never used. It was plastic, very thin, and very coiled from being wound up for eons.
And then I saw it -- a length of soft, 1/2" cord of a sort, that I'd recycled from...something... at some time or other. I have no idea what it was part of, or where it originated, but it was long enough to make a sample, then make the piece, and have some left over!
How to install it into a quilted piece? Trapunto!
Here's the piece, quilted and faced, with the cord running up the centre, on my design wall.
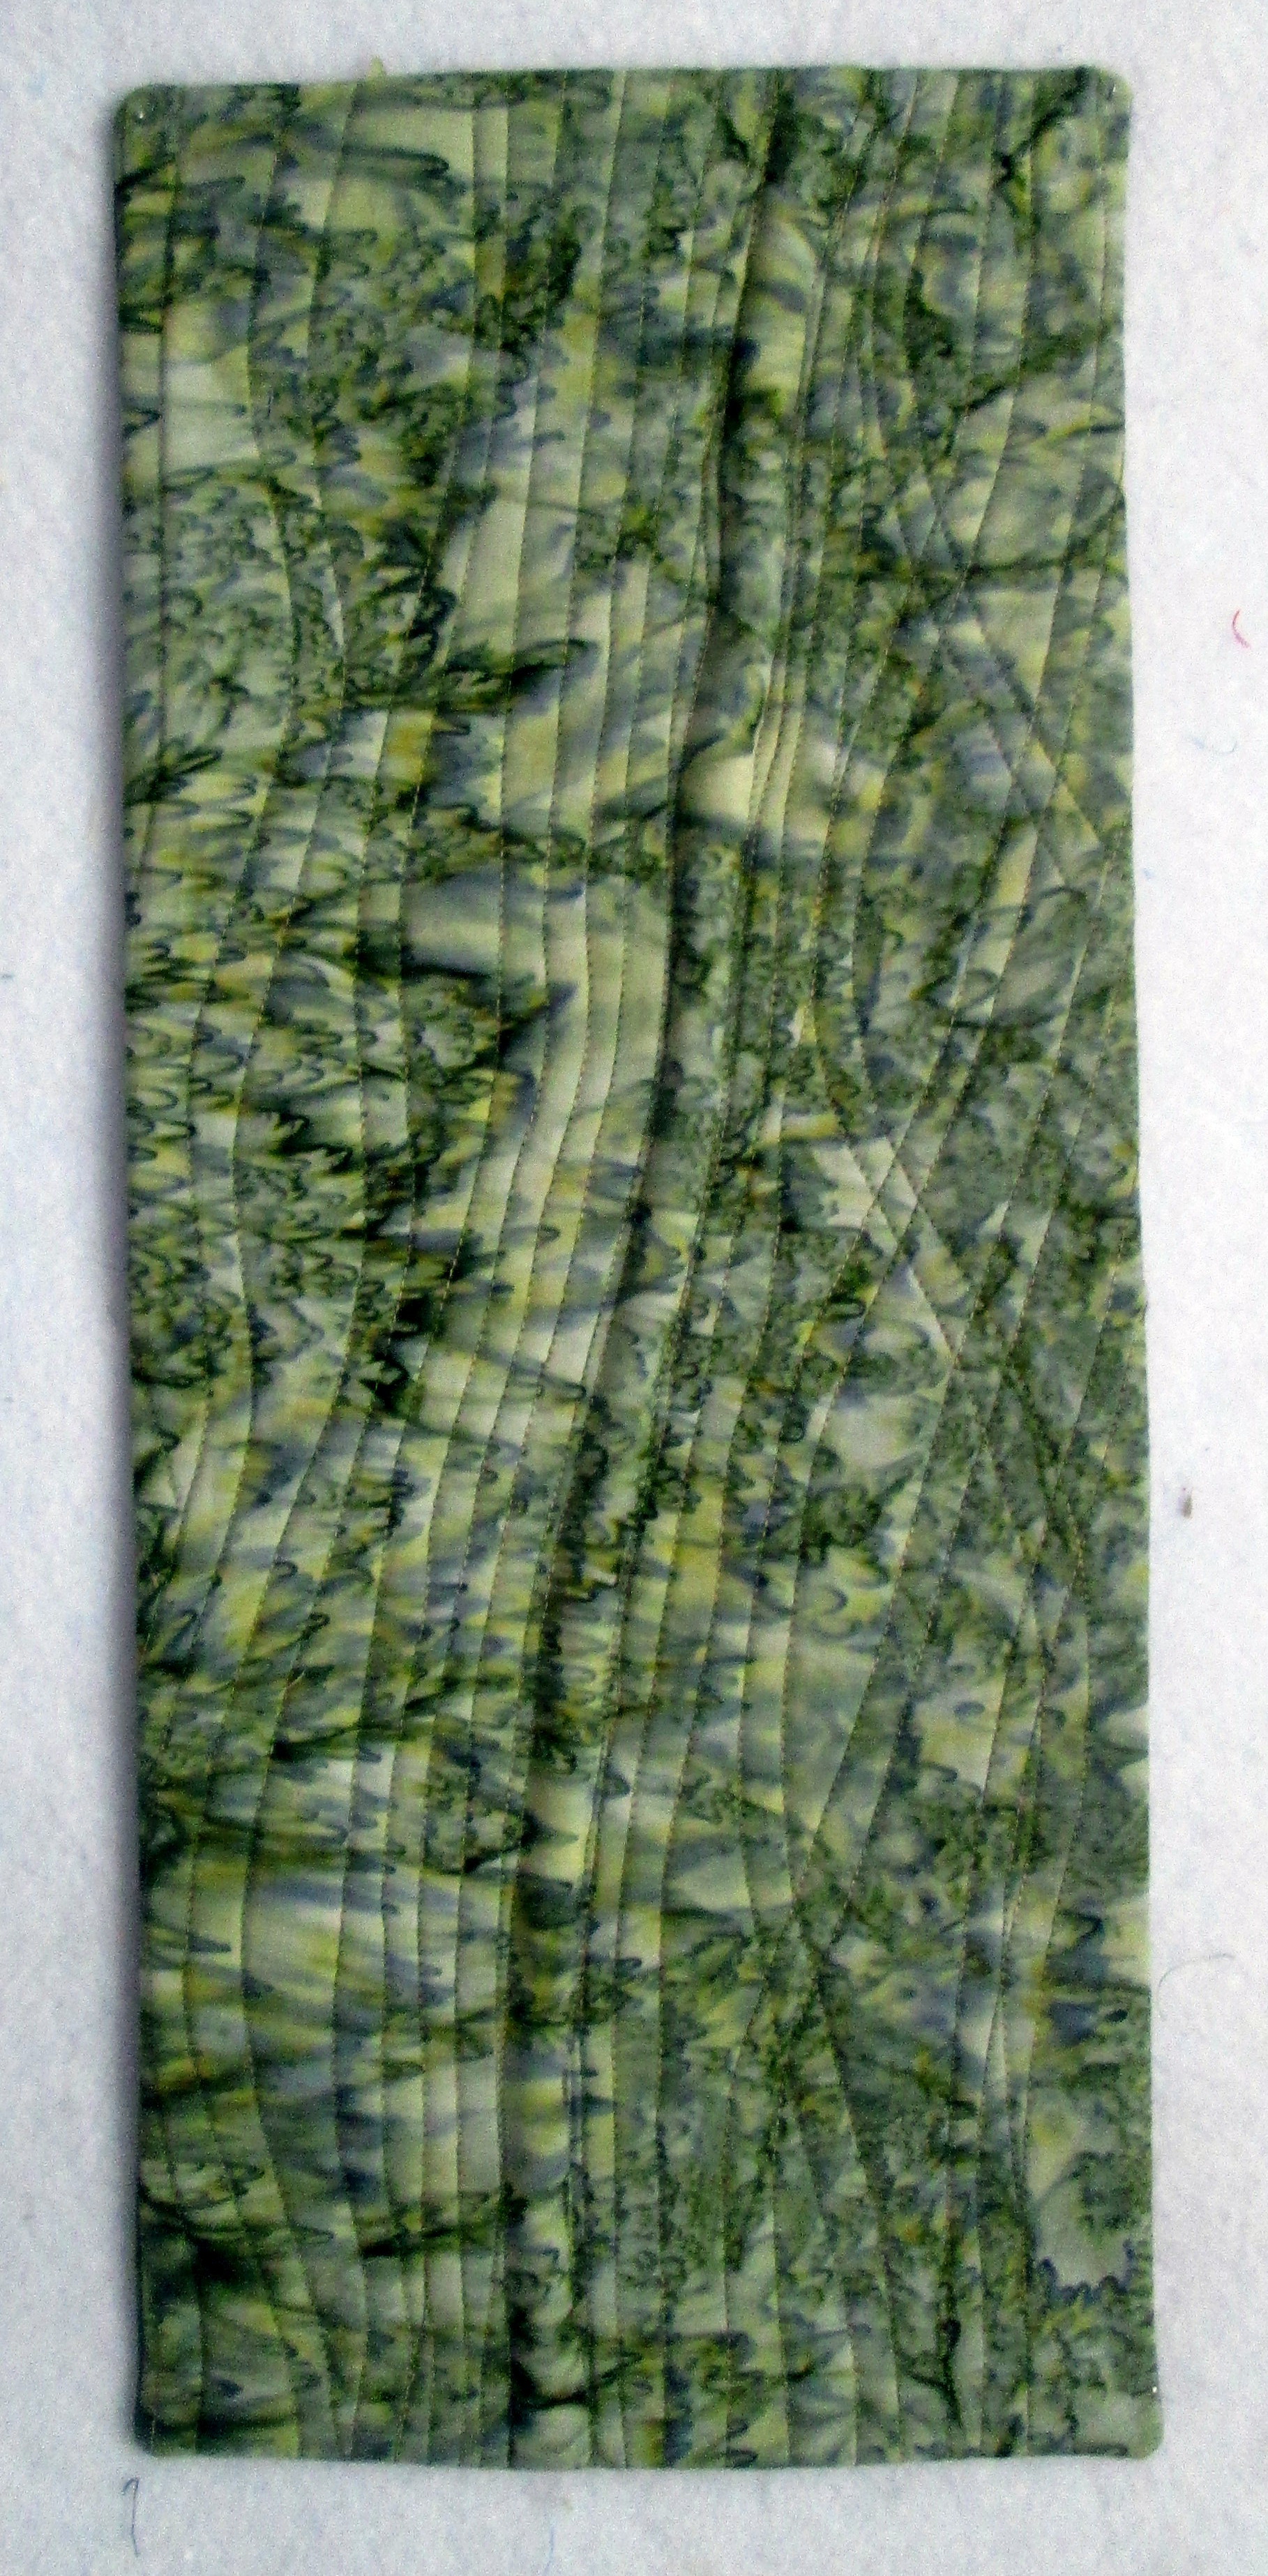 |
| 8" x 19", faced |
Here are the leaves, made with that wonderful, moldable Inn-spire stuff. Yes; they're large. Each one is 4 1/2" wide by 6" long.
 |
| Front |
 |
| Back |
The front of each leaf is covered with the same batik as the background; the back of each is covered with a synthetic I'd sun-printed several years ago.
I pinned each leaf on next to the stem and then sewed them down by machine:
 |
| Pinned on |
 |
| Leaves attached |


 |
| Waiting for the Train (2013) 15" W x 12 1/2" L Available for a new home... |
I'd not done any silk ribbon embroidery in years! Could I still remember how to make flowers? Buds?
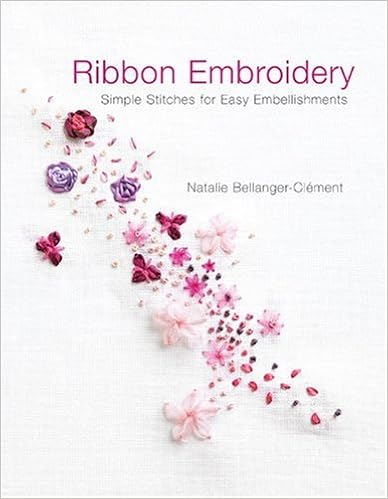
It was the latter that was the most help. Again, I took a bit of the ribbon, threaded a #28 chenille needle, and practiced, following Natalie's illustrations.
I'm pleased to say it worked -- and with far less stress on my hands than was caused by the work on "Fallen Log". I'm going to take what I've learned and apply it when I go back to the 'log' -- stopping and starting without going through so many layers -- in the hopes it'll be less strain on my hands when I do.
 |
| Buds and blossoms started |
 |
| Close up! |
I'll be adding some more near the second stem, and probably up at the top, around the first. Yes, I'm very pleased! P.S. False Hellebore is reportedly poisonous, so I've decided on this title for my piece: Pretty Poison. What do you think?
 |
| Pattern: Just Try It! Designer: Susan Ashcroft Yarn: Kathmandu Aran 100 from Queensland Collection Yarns |
 |
| "Lick the Bowl" from The Kitchen Counter Series Designer: Hands On Designs Done on 30-ct mystery even-weave with my own selection of DMC floss, two strands over two. |
 |
| "Quaker du Japon" from Jardin Prive Done on 36-ct Antique White Edinburgh linen from Zweigart in the called-for DMC floss, using 1 strand over 2. |
1 comment:
I love what you have been working on and the hellebore especially - wow! What a commitment and it's beautiful! PRETTY POISON (and the addition of the silk flowers) is perfect!!
The cowl is amazing and I will try to find the pattern.. I could do that! I love my neck being warm as I walk...and the handwork on your pieces for gifts is always so really special!
We have a small ton of brilliant, wind blown snow here today, and all of the paths the mnen made in the lawn yesterday have ben covered and the city has come by on our rural roads to SCRAPE and every time they do, a portion of the horrible pothole roads aut here are thrown by the scraper into the ditches along the roads - really hate that aspect of winter arrival. I just put 4 new winter tires on my car for $975 and every time I hit a pothole, I cringe!
Anyway - gald you are working inside , take care and getting more and mmore excited abot Conference 2023. Hope all is well with SAQA Committee - you will have a good year and best wishes for many great grants being brought forward!
I am teaching twice this week in Picton/Belleville and glad to have a breat starting tomorrow in the snow belt arrivals!
Hugs
Beth
Post a Comment